Stacking And Processing of the Moon
Since I was moving my telescope to my school for my Astronomy Club, I putted it for a long time because my club is still weak and no one in the club could be seem as a real club member. But I setted up a small observation recently with another guy who are not in my club, and I took 16 photos of moon by my lovely A7RIII, however, the truth prove that it is useless to stack 16 photos, but I think it is a nice try.
All things: 16 original photos, AutoStakkert 3, RegiStax and Photoshop
I. Stacking
Open AutoStakkert 3, put 16 photos into it.
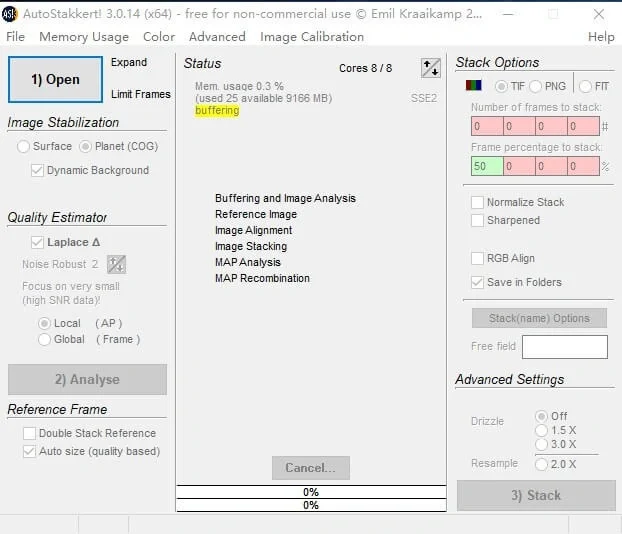
For moon, choose “Surface”, because my materials have low noises, so I set “2” as my Noise Robust.
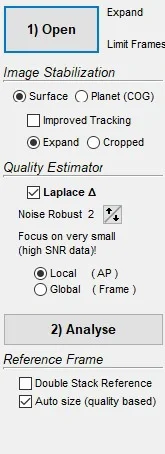
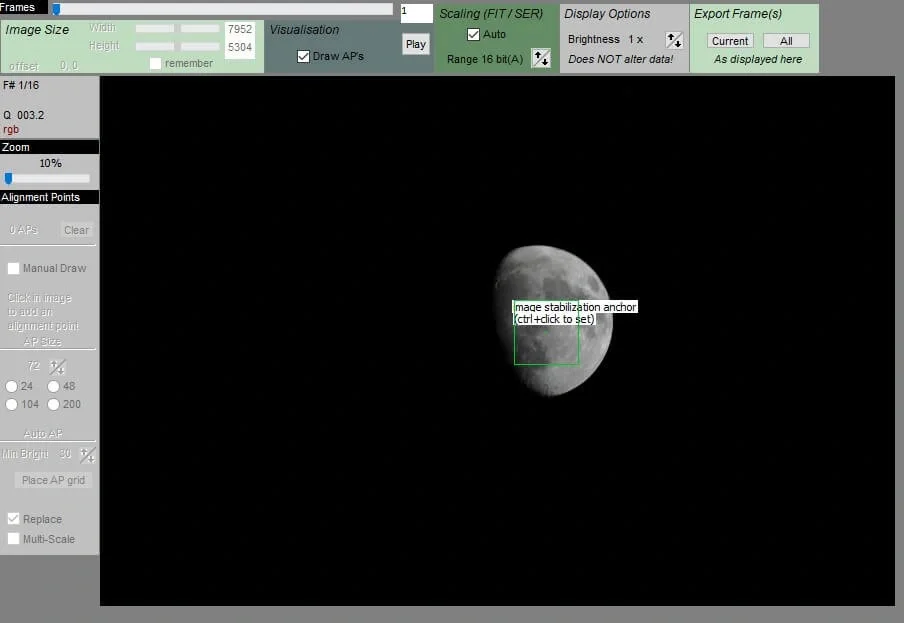
Use [Ctrl]+[Left Click] to choose a area with obvious characteristics
Click “2)Analyse”
Hint: Close all other softwares, it needs RAM
After Analyse. we need to choose Aps for locate different frames. Click “Manual Draw”, then click “Place AP grid”
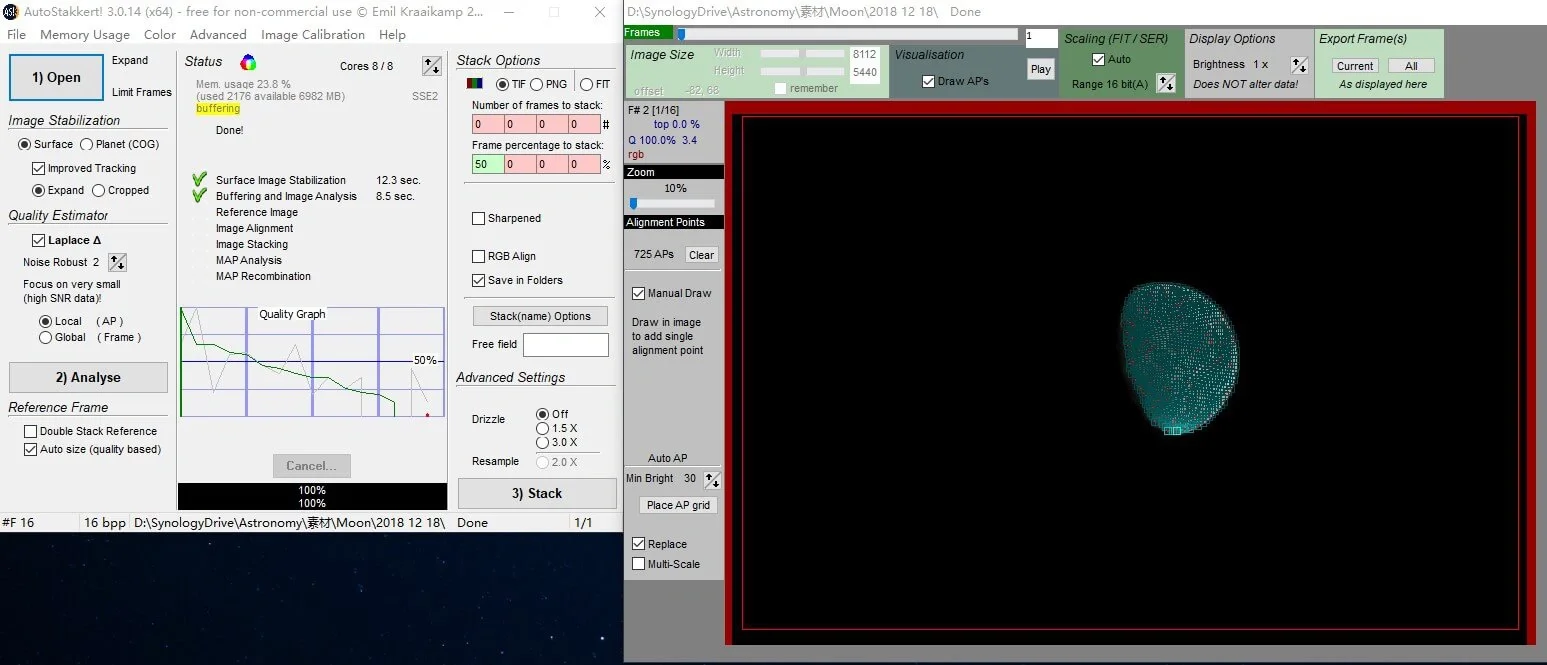
For “Stack Options”, choose
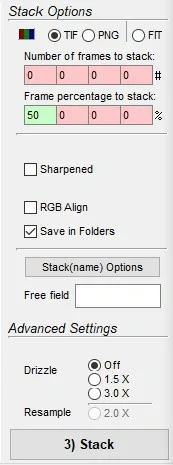
Finally, we get a big pic, but it looks has no difference comparing to the original materials, so we need to do sharpen work.
II. Sharpening
Put the stacked material into RegiStax, than move the Slider,
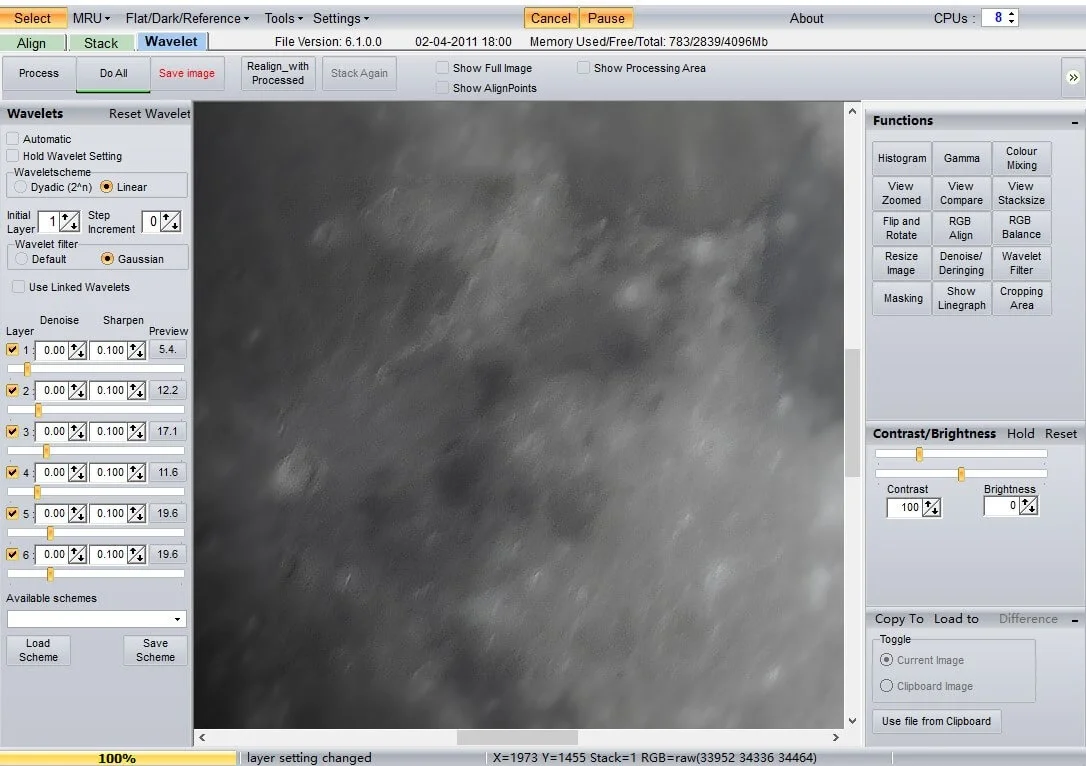
And for the works be done on Photoshop, since it is easy to do, just ignore it.
Final Work
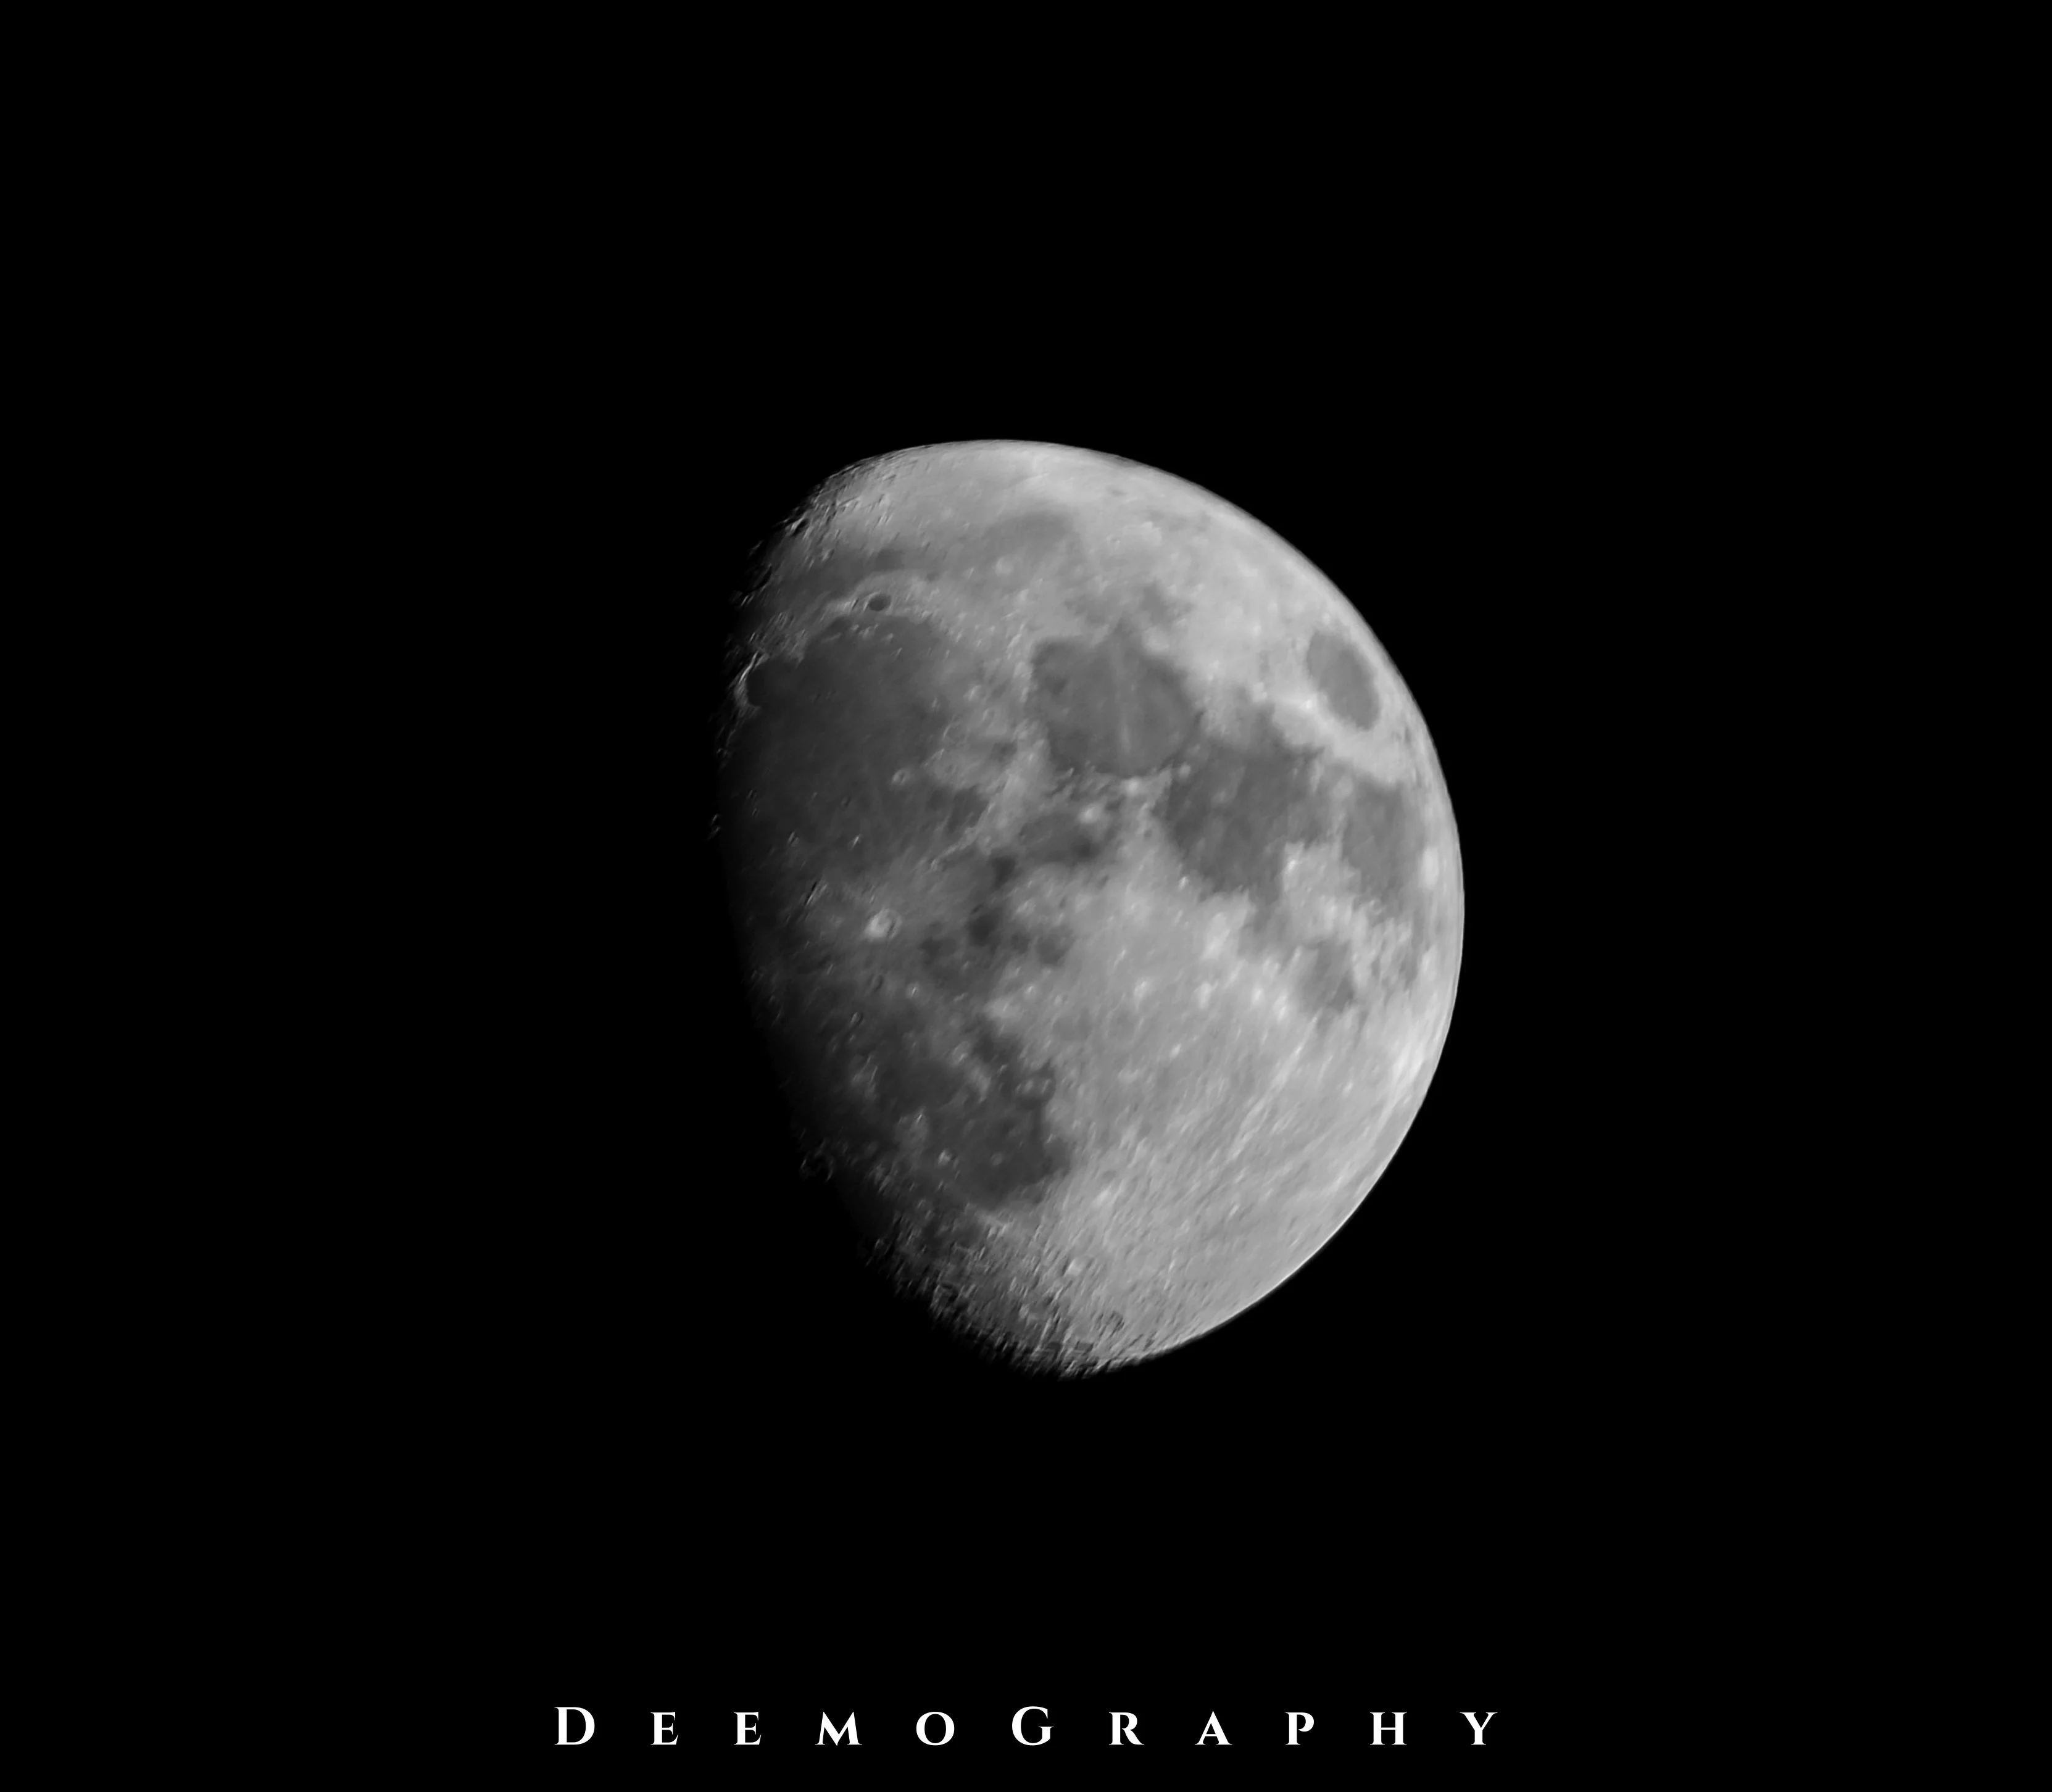
I know it looks not that good, here are my tips:
- Take video instead of photos
- Make the materials focus on the objects but not space, because the space will include a lot of pixels which will make the software not working.